How to Practise Pigeon Pose (Eka Pada Rajakapotasana) with Confidence and Ease
Discover how to practise (Pigeon Pose) (Eka Pada Rajakapotasana) with confidence and ease. This guide offers essential tips, 4 simple steps and modifications to safely find a deep, rewarding hip opening experience. Unlock the physical and emotional release.

Table of Contents
Introduction
Learn how to adapt (Pigeon Pose) (Eka Pada Rajakapotasana) for your body.
For many people, particularly those with a lot of desk sitting or repetitive physical activity, the hips are a major center of tension. (Pigeon Pose) targets this tension directly, stretching the hip flexors, groin and psoas, while also stimulating the deeper pelvic muscles.
However, this intensity is also what makes the pose a potential source of trouble.(Pigeon Pose) is known for its intense hip opening qualities. Many practitioners experience pain in the front knee, strain in the lower back or simply a feeling of being completely blocked. This is often because we try to force our bodies into a shape that is not ready for it. The key to learn how to practise (Pigeon Pose) is to listen to your body and honor its unique anatomy and limitations.
Common Pain Points in Pigeon Pose
Knee Pain: This is the most serious and common issue. Strain on the front knee is often a sign of incorrect alignment or forcing the hip joint.
Lower Back Pain: Compressing the lower back by collapsing the chest or not using the core correctly can lead to discomfort.
Hip Blockage: Some people simply can not get their front shin parallel to the front of the mat, leading to frustration.
Emotional Discomfort: Hips are a well known area where we store emotions. A deep release in this area can feel challenging or overwhelming for some.
The Solution: Patience, Breath and Modifications
The goal is not to force yourself into a specific “perfect” shape but to find a safe and comfortable expression of the pose for your body today. This is where the concepts of confidence and ease come into play.
Confidence comes from knowing proper alignment, using props effectively and listening to your body’s signals.
Ease comes from patience, deep breathing and allowing the muscles to release over time rather than being forced.
How to Practise Pigeon Pose (Eka Pada Rajakapotasana): A 4-Step Guide
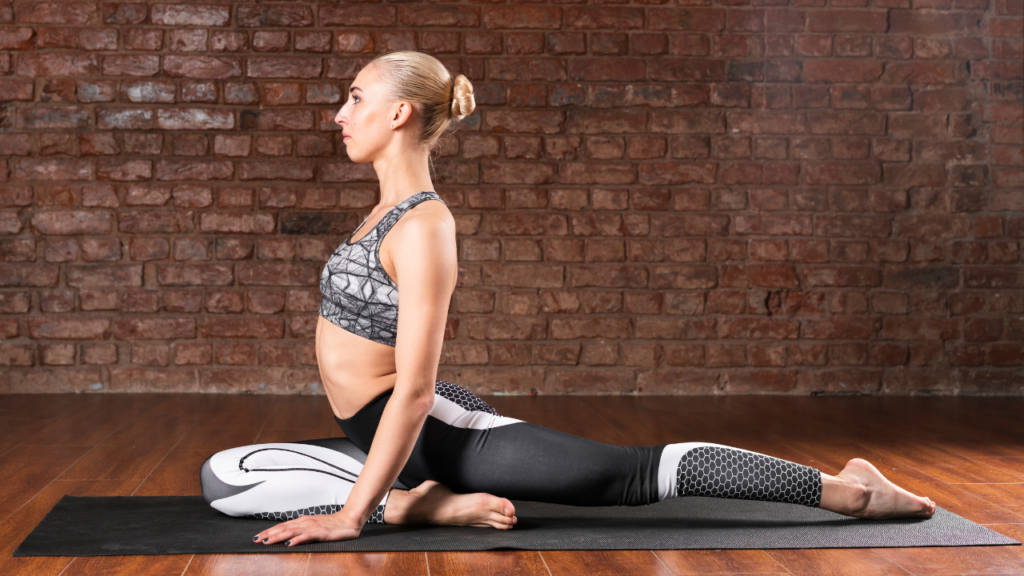
Step 1: Set Your Foundation (Alignment is Everything)
How to practise (Pigeon Pose) is often entered from Downward Facing Dog, but you can also begin from a tabletop position. This first step is crucial for protecting your knees and aligning your hips.
The Set Up: From Downward Facing Dog, lift your right leg. As you exhale, pull your right knee forward and place it on the mat behind your right wrist.
Foot Placement: This is key for knee safety. Do not force your front shin to be parallel to the top of the mat unless your hips are incredibly open. Instead, angle your right foot back towards your left hip, creating a shape that looks like a “7” or an angled “1” (depending on the angle). Crucially, keep your front foot flexed “To protect your knee, focus on pressing the outside of your foot down, which activates the supporting musculature.”
The Hips: Ensure your right knee is wider than your hip. If your hips are tight, your right hip will lift. Use a blanket or a block under your right buttock to provide support and level your hips.
Step 2: Lengthen Your Back Leg (Protecting Your Spine)
Your back leg plays an important role in (Pigeon Pose).
Back Leg Alignment: Straighten your left leg behind you. Glance back to make sure your back leg is directly extended from your hip and not splayed out to the side. Your left knee and top of your foot should be flat on the floor.
Tucking Your Back Toe: Some people find it more comfortable to tuck their back toes. This can help with alignment and provide a different sensation. Experiment to see what feels best for your knee.
Hips to the Ground: As you settle, think of your back thigh pressing down toward the mat. Use a prop under your back knee if you feel any discomfort.
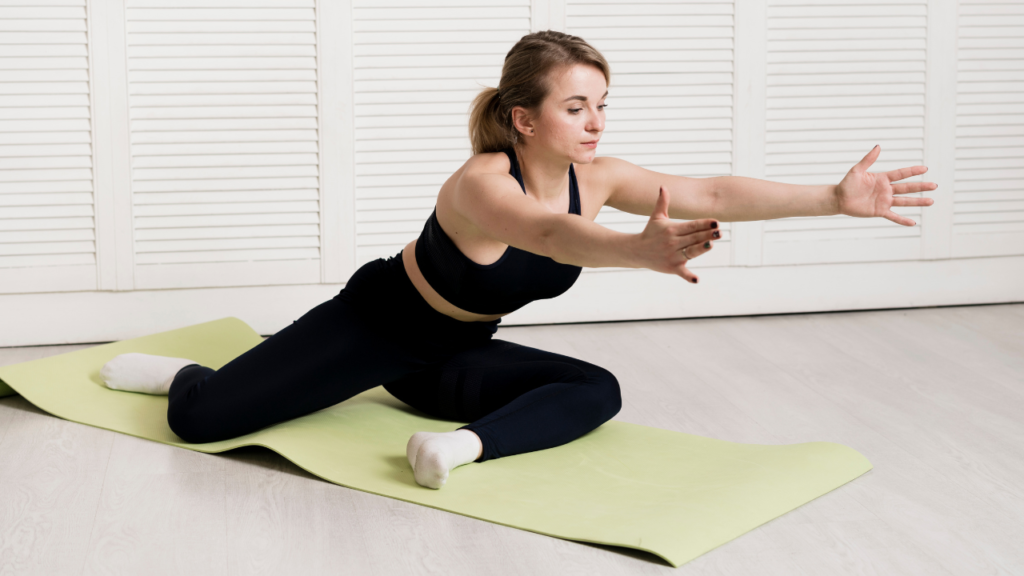
Step 3: Lift and Prepare (Engaging Your Core)
Before you fold forward, it is essential to create space and length in your spine. This is a crucial step for preventing lower back pain. Discover the profound benefits of this deep hip opening posture.
The Lift: Inhale and lift your chest. Come onto your fingertips. This initial lift helps to lengthen the spine. Think of lifting your heart toward the ceiling.
The Core: To activate your core, concentrate on drawing your navel back and upward toward your spine.
This engages your deep core muscles, providing support for your lower back and protecting your spine.
Step 4: Fold and Breathe (Finding the Release)
This is the phase where you hold the pose and allow the muscles to release.
The Fold: Keeping your chest lifted and your core engaged, slowly walk your hands forward. Stop when you feel a deep, but manageable, stretch in your right hip. This could be on your forearms, or you could rest your forehead on your hands or a block.
The Breath: This is the most important part, Deep, slow breaths. With each exhale, imagine the tension in your hip melting away. Focus on the sensation and the release. This is where you find the ease. Do not push yourself to your absolute maximum. It is better to hold a slightly less intense version of the pose for a longer time than to force a deep stretch for only a short moment.
Hold: Hold the pose for 5-10 deep breaths (about 30-60 seconds). Remember to release slowly. Walk your hands back, lift your chest and step your right leg back into Downward Facing Dog or tabletop. Repeat on the other side.
Conclusion
Embracing the Journey in (Pigeon Pose) (Eka Pada Rajakapotasana) is more than just a hip opener, it is a practice of self awareness and patience. By prioritizing safe alignment, using props generously and listening to your body, you can transform this pose from a source of frustration to a source of profound physical and emotional release.
The goal is not to achieve a particular look but to feel a specific release. Every body is different and your (Pigeon Pose) will look unique. Approach this pose with curiosity and a willingness to explore and you will discover the incredible benefits it has to offer. Be confident in your setup and allow the ease to unfold through the power of your breath. Enjoy the journey.
FAQs About How to Practise Pigeon Pose (Eka Pada Rajakapotasana) with Confidence and Ease
1. Is Pigeon Pose good for tight hips?
Yes, it is excellent for tight hips, as it targets major hip muscles.
2. Can Pigeon Pose cause knee pain?
It can if not practiced with correct alignment. Keeping the front foot flexed is crucial.
3. What if my front leg is not parallel to the mat?
This is very common. It is more important to have level hips and protect the knee. Keep the front foot closer to your back hip.
4. How long should I hold Pigeon Pose?
Aim for 30-60 seconds (5-10 deep breaths) per side. For a Yin practice, it can be held longer.
5. How often should I practice Pigeon Pose?
Practicing 2-3 times a week can be beneficial. It is best incorporated into a balanced yoga practice.
6. Are there alternatives to Pigeon Pose?
Yes. Reclined Pigeon (Figure 4) or Seated Figure 4 are great alternatives.
7. Why do I feel emotional release in Pigeon Pose?
The hips are a common area where emotional tension is stored. Deep stretching can release this stored emotion.
8. Is Pigeon Pose a beginner friendly pose?
It can be, but it requires careful instruction and the use of props. Beginners should be particularly mindful of their knees.
9. Is Pigeon Pose good for lower back pain?
If practiced with proper core engagement and spine lengthening, it can help. But incorrect practice can worsen lower back issues.
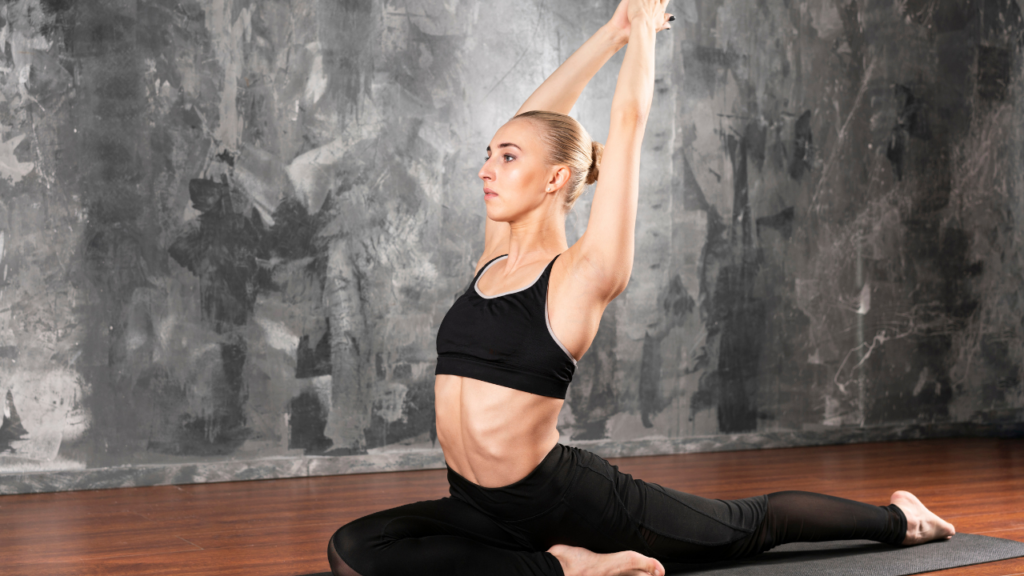
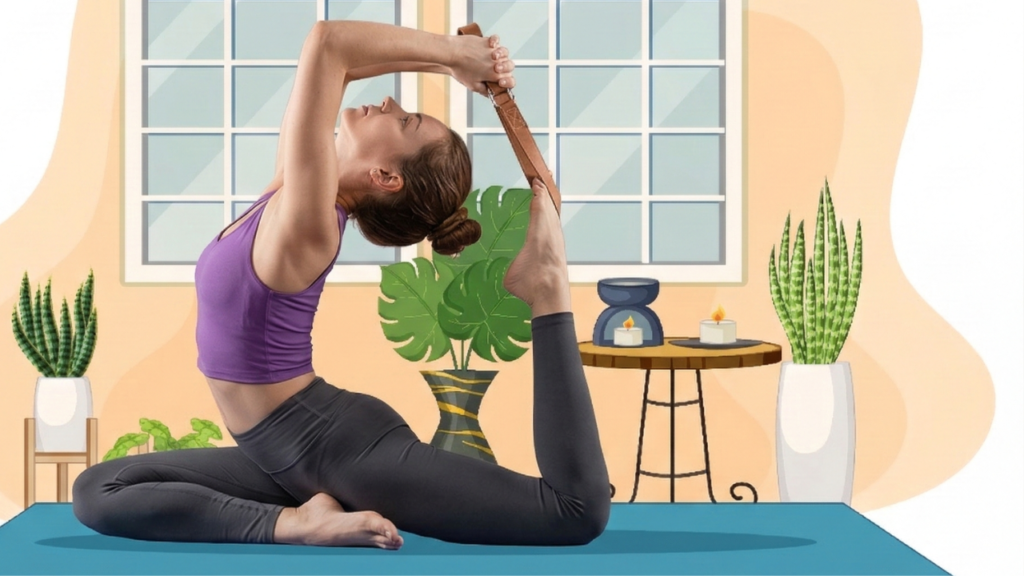
10. What are the variations of Pigeon Pose?
variations include adding a backbend , twisting or focusing on the quadriceps stretch by bending the back leg.