How to Do Lotus Pose (Padmasana) Safely and Effectively with 3 simple Steps
Master how to do Lotus Pose (Padmasana) effectively in just 3 simple steps. Avoid knee injury and find your perfect meditation seat today.
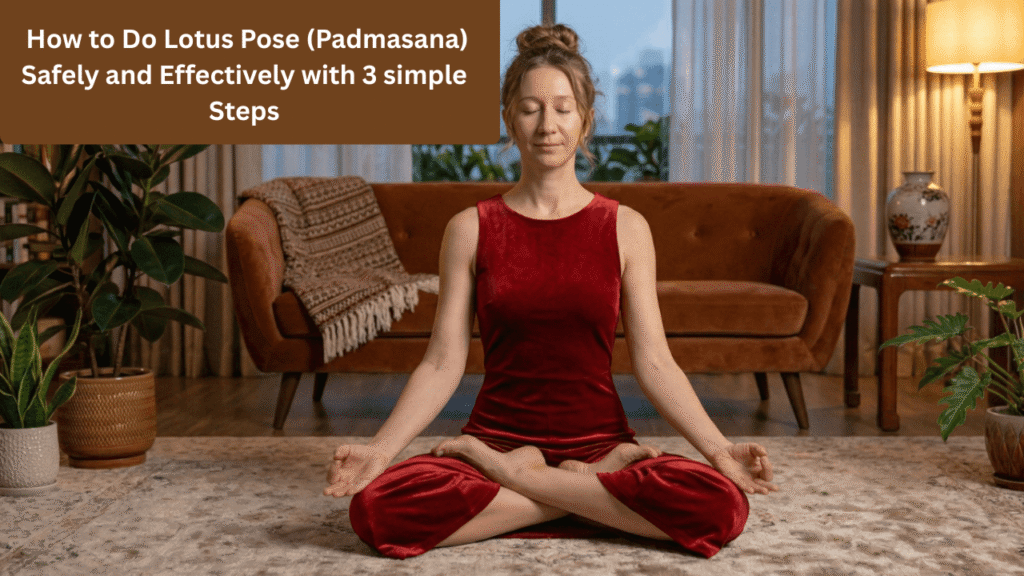
Table of Contents
Introduction
Learning how to do Lotus Pose safely and effectively is an anatomical journey of patience. We have to treat our hips with respect and our knees with absolute safety.
Lotus Pose. It is the quintessential image of yoga and meditation. Known in Sanskrit as Padmasana, it is revered as the supreme seat for deep introspection and meditative calm.
The geometric lock of the legs provides an exceptionally stable base, grounding the body’s energy and allowing the spine to remain effortlessly upright. When we visualize stillness, we visualize this pose grounded and balanced.
If you are tired of struggling to find comfort in a simple cross legged seat, this step-by-step tutorial will show you exactly how to do Lotus Pose, breaking it down into 3 simple, achievable steps that respect your unique anatomy.
Why Prioritize Padmasana? The Benefits and Anatomy
Before we dive into the method, it is essential to understand why we practice this seat. Physically, Padmasana provides a powerful opening for the hips, strengthens the back and can improve posture.
Energetically, the crossed legs create a powerful circuit, anchoring your awareness and directing energy upward along the spinal column, which is essential for Pranayama (breath work) and Dhyana (meditation).
However, the key to unlocking these benefits lies in understanding the interplay between the hips and the knees. The fundamental rule of learning How to Do Lotus Pose safely is recognizing that Lotus Pose is a hip external rotation, not a knee twisting posture.
The hip is a ball and socket joint designed for a wide range of motion, including significant rotation. The knee, conversely, is a hinge joint, designed primarily for flexion and extension (bending and straightening).
When the hips are tight, the rotational force required for Lotus has nowhere else to go but down into the vulnerable knee joint. Forcing the legs down before the hips are open puts massive torque on the knee ligaments (specifically the meniscus and ACL).
This is why we must treat our knees with absolute respect and focus our efforts entirely on mobile hips.

3 simple Steps to Master Lotus Pose (Padmasana) Safely and Effectively.
The following 3 simple steps provide a safe progression to master the pose without rushing. Remember, many practitioners find they must spend months or even years in Step 2 before safely progressing to Step 3.
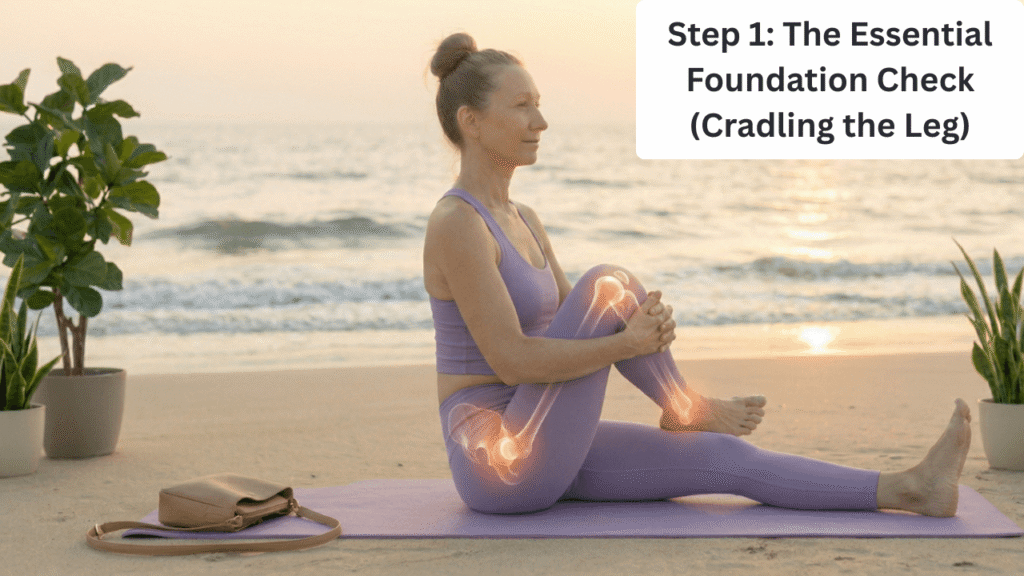
Step 1: The Essential Foundation Check (Cradling the Leg)
This first step is the most critical preparatory movement, as it isolates the required rotation within the hip joint before we load the leg. This step serves as your anatomical diagnostic.
Start in a comfortable, seated position with both legs extended forward in Dandasana (Staff Pose). Ensure your sit bones are grounded.
Bend your right knee and carefully draw the shin toward your chest.
The Cradle: Clasp your hands around the right shin, holding the foot in your left elbow crease and the knee in your right elbow crease. If this is too much, simply hold the foot with your left hand and the knee with your right.
Crucially, keep your right foot actively flexed (toes pulling toward the shin). This contraction of the muscles surrounding the knee provides stability to the joint.
With a tall spine and lifted sternum, gently rock the leg from side to side. Visualize the ball of your femur gliding smoothly within the hip socket.
The Safety Check: If you feel any pinching, pulling, or sharpness in your right knee, this is your body telling you that your hips are not yet mobile enough for deep rotation. Stop here, and make this “Leg Cradle” your daily preparatory drill.
If the movement feels entirely soft and comes only from the hip socket, you are ready to progress to the next stage. Repeat on the left side before moving to Step 2.
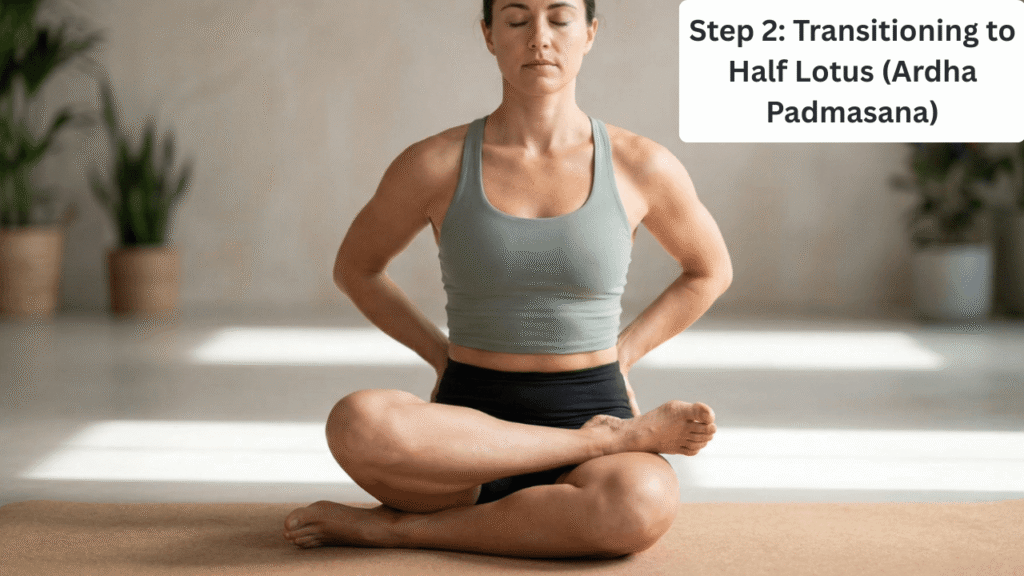
Step 2: Transitioning to Half Lotus (Ardha Padmasana)
Half Lotus is a profound and stable posture in its own right and is the main beginner target. This is where you learn how to place the foot correctly on the opposite thigh, establishing the crucial foundation for How to Do Lotus Pose.
Begin seated in Dandasana. Bend your right knee and execute the Leg Cradle from Step 1 again, ensuring the rotation is isolated in the hip.
Now, instead of holding the shin parallel to your chest, rotate the thigh externally and draw the right heel toward your navel.
Carefully place the right foot onto the left upper thigh, as high up near the crease as comfortable. The sole of the foot should face toward the ceiling.
Foundation Check: The ultimate goal is to have your foot oriented properly, with your toes down and back, allowing the outer edge of the foot to rest smoothly against the thigh without sickle (twisting) the ankle.
Actively use your hands to encourage your sacrum to lengthen down, ensuring you are sitting upright rather than leaning back. Place your hands over your sacrum for feedback.
If you feel no strain in your right knee, this is Half Lotus. You have successfully learned How to Do Lotus Pose modification. Breathe here for several breaths.
Practice this evenly on both sides. Many yogis master Ardha Padmasana for meditation and find that it meets all their energetic needs.
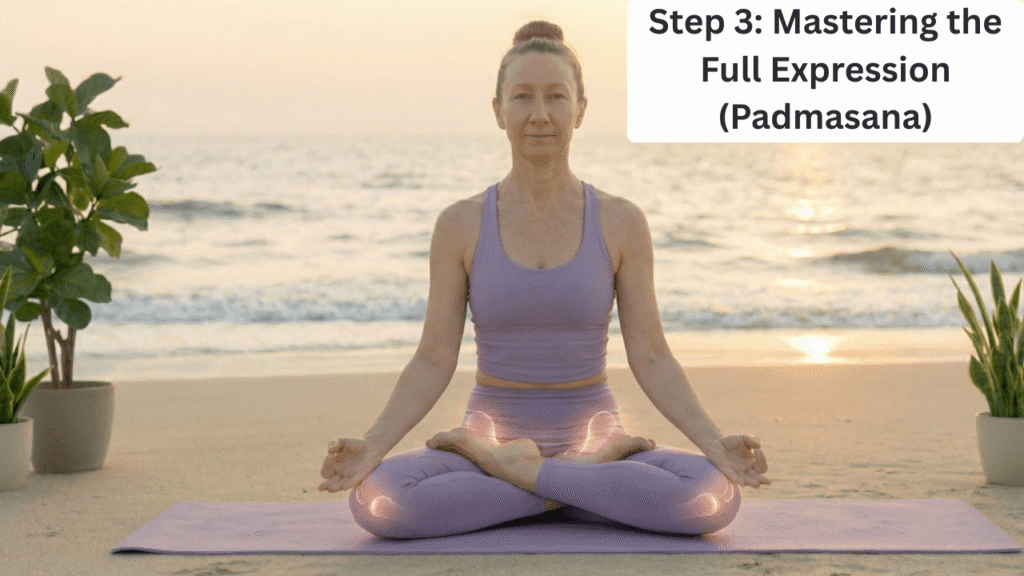
Step 3: Mastering the Full Expression (Padmasana)
We only attempt Step 3 if Step 2 is entirely comfortable, pain free and stable on both sides.
Start in Ardha Padmasana (Half Lotus) with the right foot high on the left thigh, precisely as established in Step 2.
To place the second leg, you must be extremely mindful. As you exhale, lean your weight back slightly onto your hands (fingers down, thumbs in) to allow for easier movement.
Gently bend your left knee, drawing the foot toward your midline. Use your left hand to guide the left foot under the right shin and carefully draw it up and over the right thigh.
Both feet should now be resting high on the opposite upper thighs. The outer edges of the feet should rest against the thighs, with soles facing up.
Lift your sternum, engage your core subtly and bring your hands to your knees.
The final stage of learning How to Do Lotus Pose effectively involves grounding, if comfortable, gently Lean back if comfortable to lengthen your tailbone and firmly anchor both sit bones.
If both hips are open, your knees may naturally begin to descend toward the floor. Avoid pressure on your lower spine and never force the knees down. Breathe deeply and find your calm seat.
conclusion
Mastering how to do Lotus Pose safely is a lesson in detachment from the final result. While the full posture, like the perfected, centered expression we seek, is iconic, forcing yourself into it guarantees injury, not enlightenment. The serene gaze and grounded stability come from the deep stillness you find when you practice with awareness, not by forcing your knees to the floor.
The key is to prioritize hip external rotation, not knee twisting. By using our 3 simple steps progressively, you allow your body to open on its own timeline. For many practitioners, the modified steps like mastering Half Lotus are the actual final goal for a safe and effective meditation practice.
And always listen to your body’s signals. Avoid pressure on your lower spine, especially. By prioritizing safety and respecting your unique anatomy, you are not just learning a pose, you are building a foundational understanding of your body,You will find your calm seat when you are truly ready.
(FAQs) about How to Do Lotus Pose (Padmasana) Safely and Effectively with 3 simple Steps
1. How long does it take to master Lotus Pose?
There is no set timeline. For some natural flexible practitioners, it can take a few weeks, for others with structurally tighter hips, it can take years. Consistent, safe practice using the 3 simple steps is key, rather than intense forcing.
2. Can I do Lotus Pose if I have tight hips?
Yes, but you must prioritize the intermediate steps. Tight hips are the primary reason people learn How to Do Lotus Pose in modifications (like Half Lotus) or preparatory drills first. Your daily focus should be on gentle, external hip rotation to build that required mobility over time.
3. Why do my knees hurt when I attempt Padmasana?
Knee pain in Lotus Pose is an immediate signal that your hips are not yet open enough for the rotation you are attempting. The knee joint is twisting rather than the hip rotating. Stop the practice immediately if you feel sharpness in the knee and return to Step 1.
4. What is the difference between Half Lotus and Full Lotus?
Half Lotus (Ardha Padmasana) involves crossing only one leg, with the foot high on the opposite thigh, while the other leg is tucked underneath. Full Lotus (Padmasana) involves both feet crossed over the opposite thighs. Half Lotus is an effective modification that allows many beginners to experience the grounded benefits of the seat safely.
5. When should I avoid practicing Lotus Pose?
Avoid attempting Padmasana if you have any active, acute or chronic knee injuries (meniscus tears, ACL issues, etc.). Also avoid it if you have recently injured your ankle or suffer from significant lower back pain.
6. Should I use props like blocks to learn How to Do Lotus Pose?
Yes! Using props is highly recommended and facilitates the correct alignment. Beginners often find that placing a folded blanket under the sit bones to lift the hips can make finding external rotation significantly easier and safer.
7. Can I meditate in Lotus Pose even if it is tight?
You should only meditate in a posture that is entirely comfortable and pain free. If Lotus is tight, your meditation will be focused on your physical discomfort rather than introspection. Meditation in Half Lotus is often the number one secret to maintaining focus for longer durations without injury.
8. Is Lotus Pose essential for a 'complete' yoga practice?
No. A “complete” practice is about presence and safe alignment, not achieving advanced postures. Padmasana is iconic, but you can achieve grounded meditation in a safe cross legged position or simple modification just as effectively.
9. Why is it called 'Lotus' Pose?
In traditional yogic philosophy, the lotus flower represents enlightenment and purity. It grows from the mud (symbolizing worldly suffering) but blooms above the surface, spotless and beautiful. The pose is structured to reflect this grounded stability (the mud) and the resulting mental clarity (the bloom).
10. What are the earliest warning signs of injury in this pose?
The first sign is sharpness or pinching on the medial (inner) or lateral (outer) knee ligament. Other signs include difficulty walking after practice or persistent ache around the kneecap. A complete step-by-step tutorial should always prioritize identifying these signals before injury occurs.